
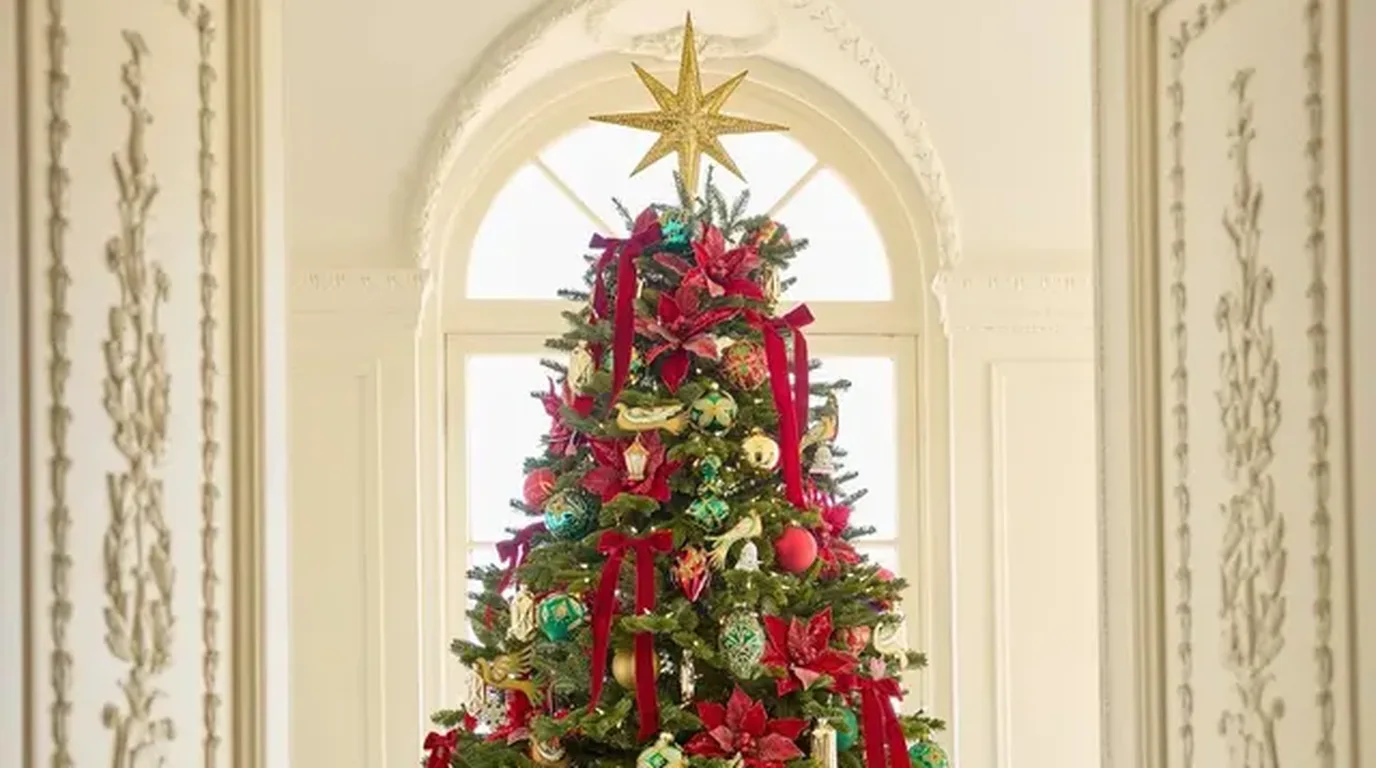
15 Christmas Tree Decorating Ideas for Beginners

Decorating a Christmas tree for the first time can feel confusing. Where do the lights go? How many ornaments do you need? Don’t worry — there is a simple order that always works.
Here are 15 easy Christmas tree decorating ideas for beginners, step by step, from lights to the final topper.
1. Start With a Full, Fluffy Tree Shape
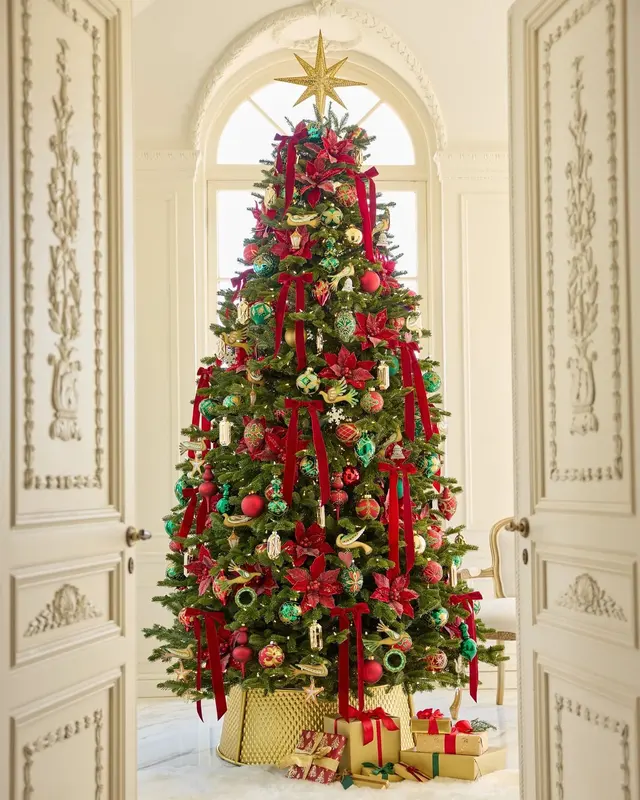
Before any decoration, spread out every branch of your tree. Pull the tips up, down, and sideways until the tree looks full with no big holes.
This step takes time, but it is the real secret of every beautiful tree. A well-shaped tree looks good even before the ornaments go on.
2. Put the Lights On First
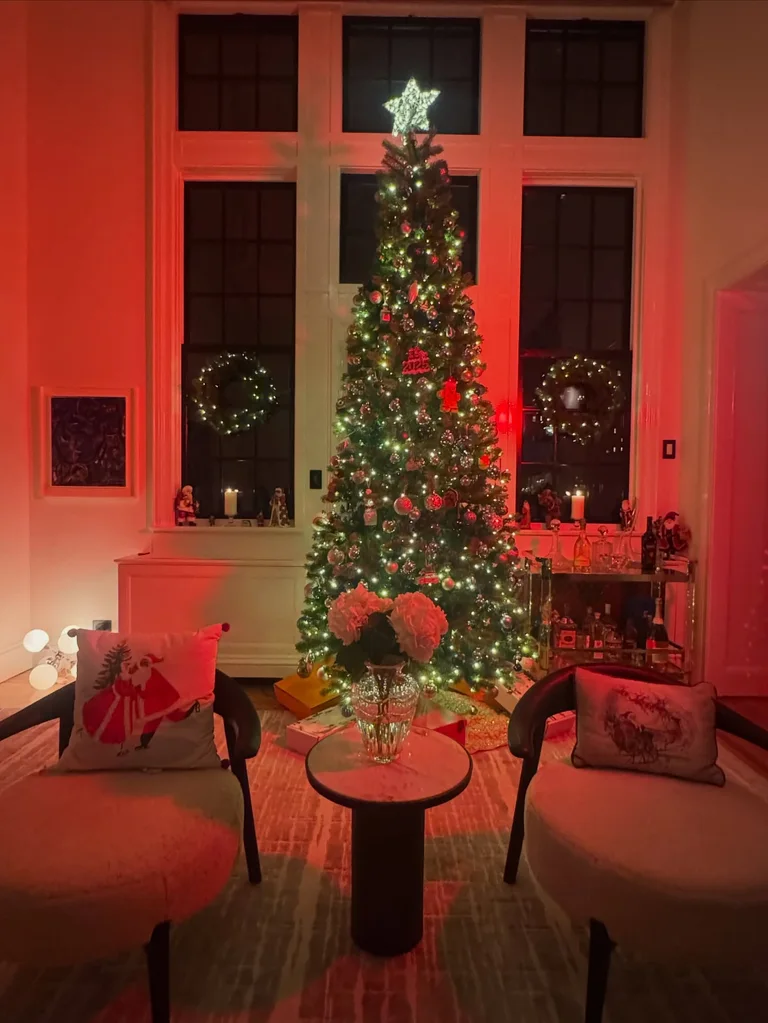
Always add lights before anything else. Start at the bottom and wind them around the tree, going up in circles, pushing some lights deep inside the branches.
Warm white lights suit almost every style. About 100 lights per foot of tree gives a bright, rich glow.
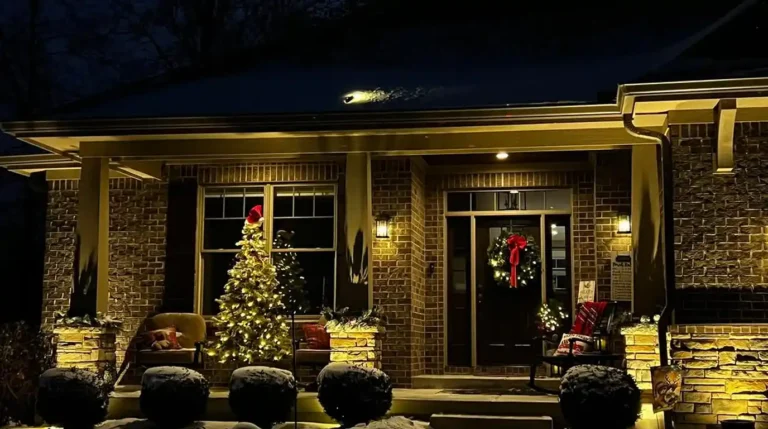
Lights really do come first, indoors and out, as 15 Christmas Lights on House Ideas for a Magical Holiday Display makes clear.
3. Add Ribbon in Soft Waves

Take wide ribbon and tuck it into the tree in loose waves, from top to bottom. Work in sections of about one foot, pushing the middle of each wave deep into the branches.
Ribbon fills space cheaply and makes the tree look designed. One or two rolls is enough for most trees.
4. Hang Garland for Shine

Drape bead garland or tinsel garland in gentle swags around the tree. Keep the swags at the same height as you go around, like soft waves.
Garland catches the light and ties all the colors together. Gold and silver go with almost everything.
5. Hang the Biggest Ornaments First
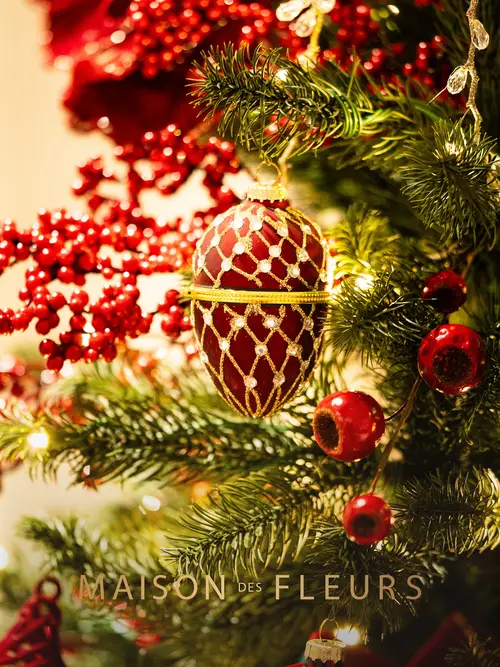
Place your largest balls first, spread evenly all over the tree. Step back often and check for empty spots.
Big ornaments deep inside the branches add depth. Once the large ones look balanced, the rest is easy.
6. Fill In With Medium and Small Ornaments
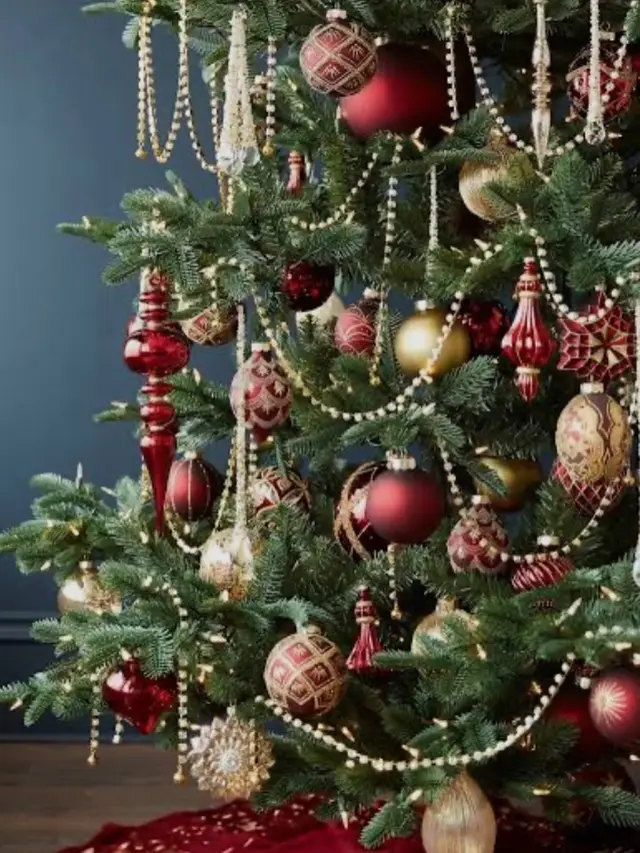
Now add medium ornaments, then small ones in the gaps. Group two or three of the same color together here and there — groups look richer than single balls scattered alone.
Keep unbreakable ornaments at the bottom if you have kids or pets. Save glass ones for the top half.
7. Pick Two or Three Colors Only
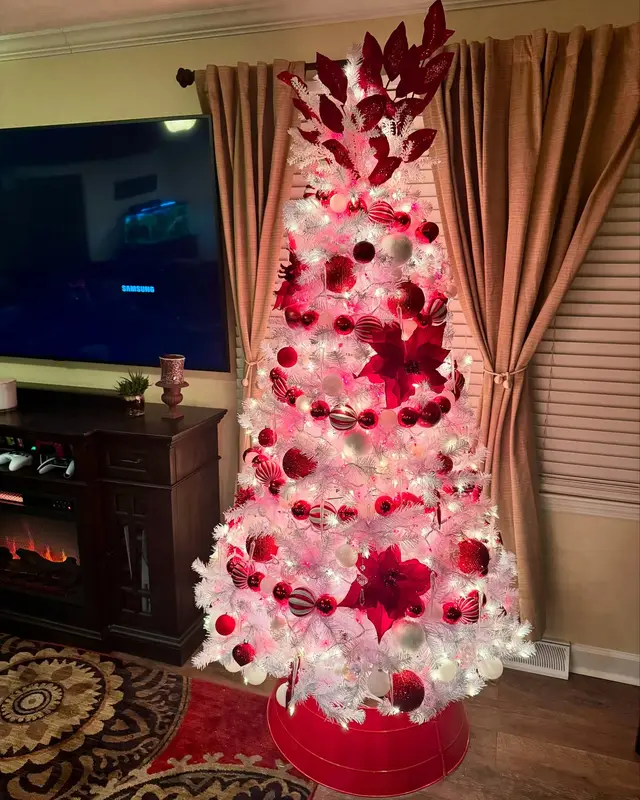
Beginners often buy every pretty ornament they see. Instead, choose two or three colors — like red and gold, or white and silver — and stick to them.
A small color family always looks calm and classy. You can add one new color next year.
Sticking to one color family is the easiest win of all, and 17 Burgundy Christmas Tree Ideas shows how far a single shade can go.
8. Try a Classic Red and Gold Tree
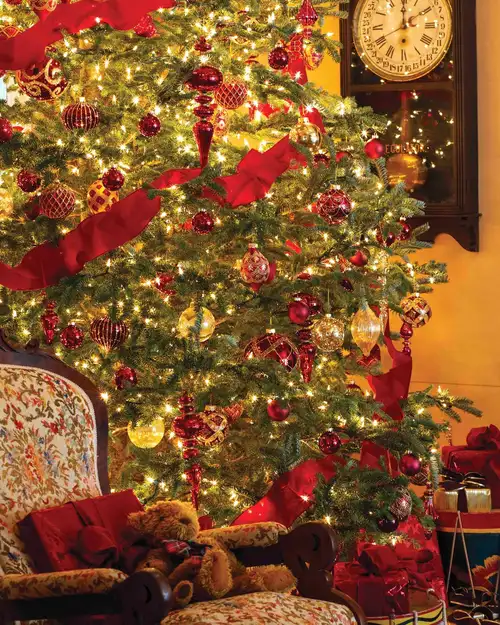
Red and gold is the easiest beginner theme of all. Red balls, gold balls, gold ribbon, warm lights — it never fails.
This theme looks rich in photos and suits every living room. Most dollar stores carry everything you need.
Red and gold is the most classic pairing there is, and its most elegant form appears in 17 Ralph Lauren Christmas Decor Tree Ideas for a Classic and Elegant Holiday Look.
9. Try a Soft White and Silver Tree
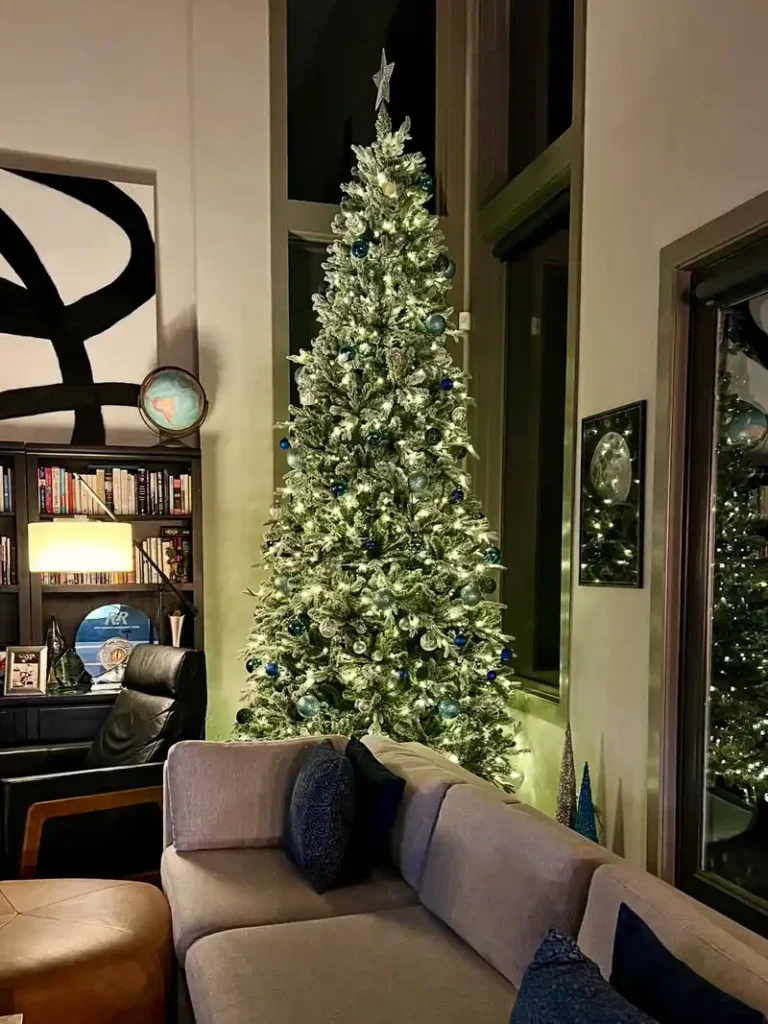
For a calm, snowy look, use white and silver ornaments with white ribbon on a green or flocked tree. Add clear glass balls for sparkle.
This theme makes a small room feel bright and peaceful. It also matches almost any furniture color.
10. Add Special Ornaments With Meaning
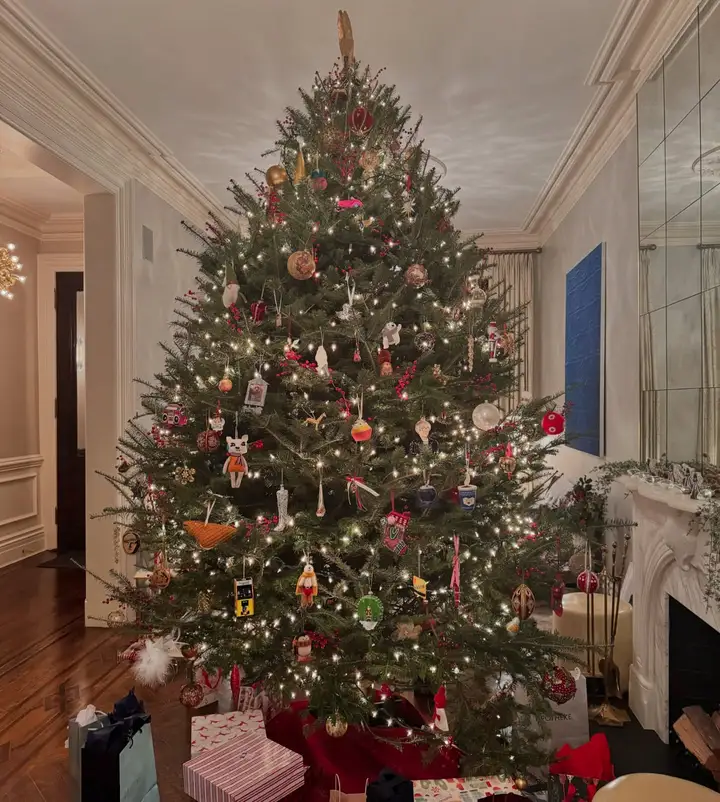
Leave space for a few special pieces — a handmade ornament, a travel souvenir, a baby’s first Christmas ball. These are the ones your family will look for every year.
Special ornaments do not have to match the theme. Their story is the point.
11. Tuck In Flowers or Picks for Fullness
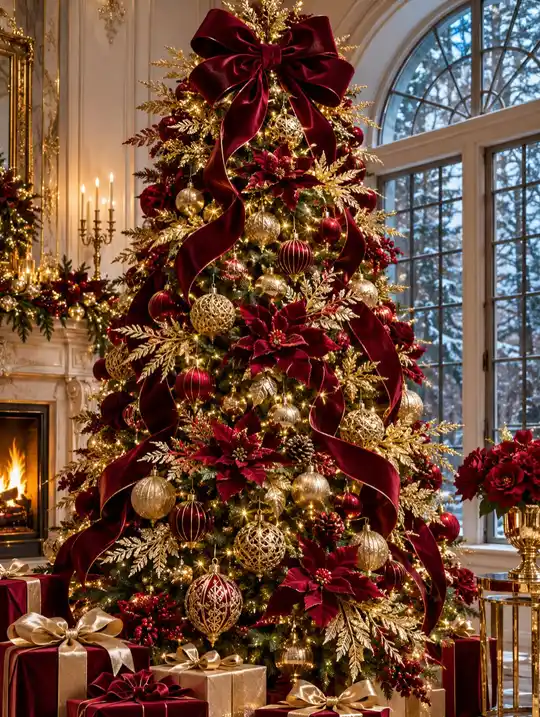
Push floral picks — poinsettias, berries, pinecones on sticks — into any thin spots. They fill holes and add texture fast.
Three or five picks in matching colors can transform a plain tree. Place them at different heights, not in a straight line.
12. Finish With a Simple Tree Topper
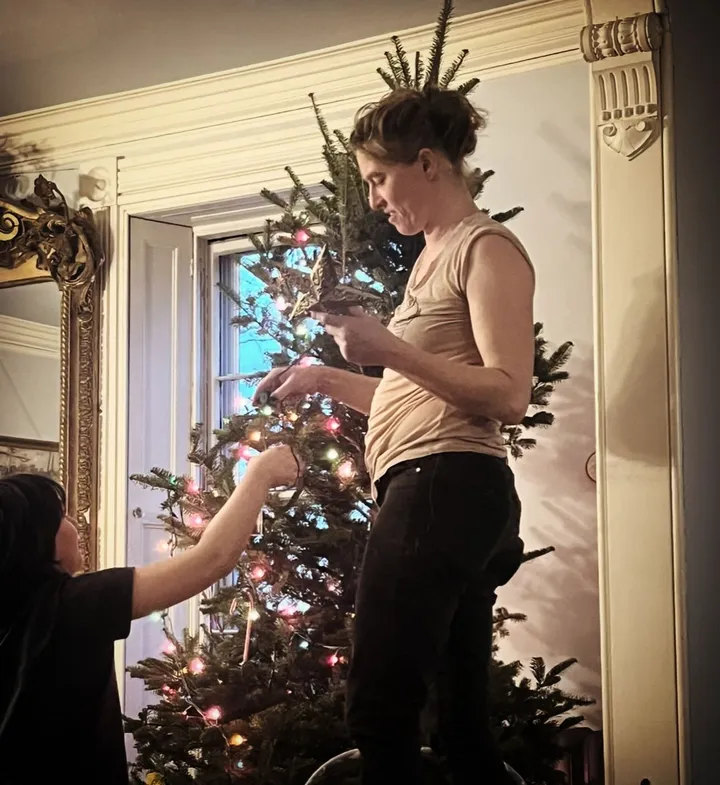
End with one topper: a star, an angel, or a big bow. Make sure it sits straight and is fixed firmly so it does not lean.
A bow is the easiest beginner topper — just tie wide ribbon and let the tails flow down the top of the tree.
13. Hide the Stand With a Tree Skirt or Collar

Cover the metal stand with a tree skirt, a woven collar, or even a cozy blanket wrapped around the base. The tree instantly looks finished.
Choose a skirt color that matches your theme. Presents will sit beautifully on top of it.
14. Match the Tree to the Room
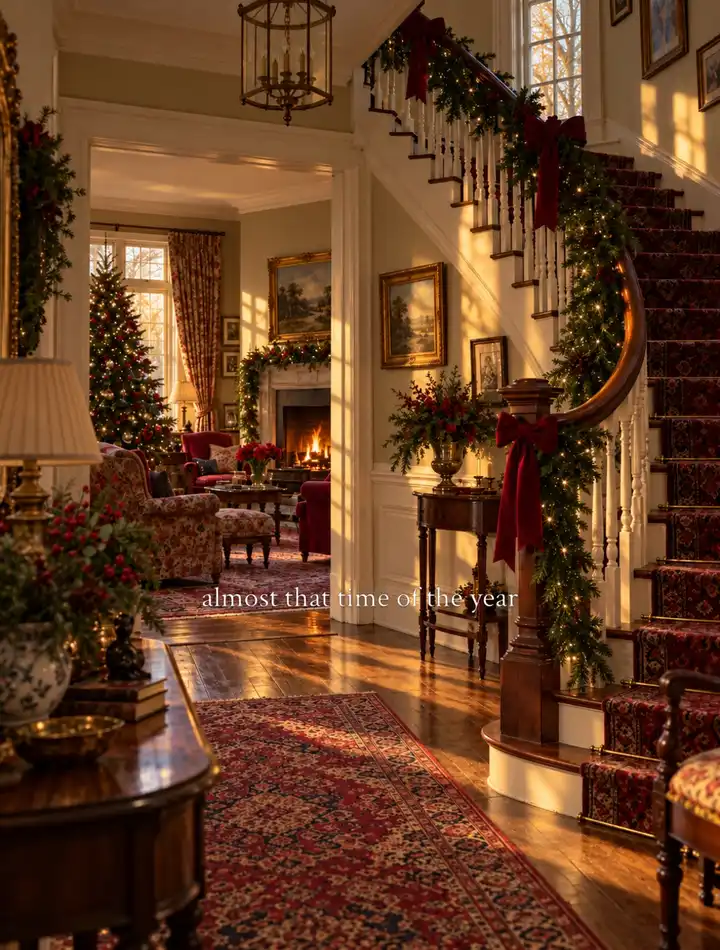
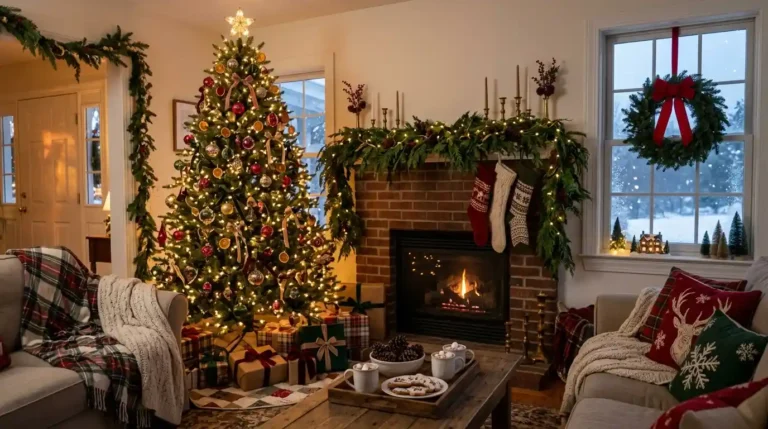
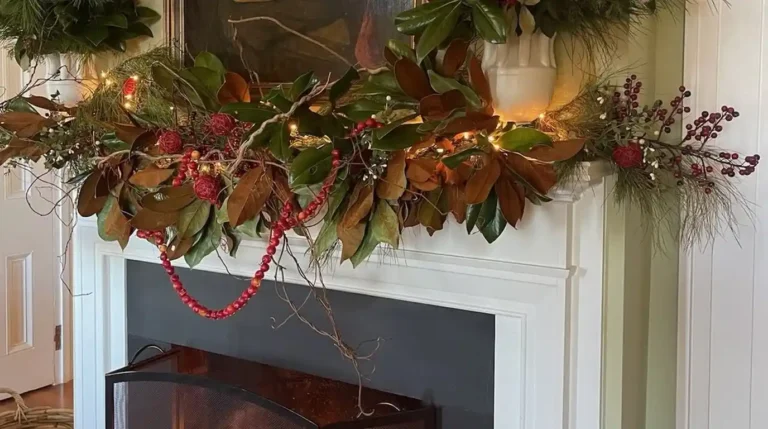
Place a few decorations from the tree — same ribbon, same ball color — on the mantel or table nearby. The whole room feels planned.
You do not need much: one bowl of matching balls is enough. This little trick makes beginners look like designers.
A tree that matches the room is the goal, and Christmas Home Decor Ideas: Beautiful and Cozy Ways to Decorate Your Home helps the whole space come together.
15. Step Back and Fix the Gaps
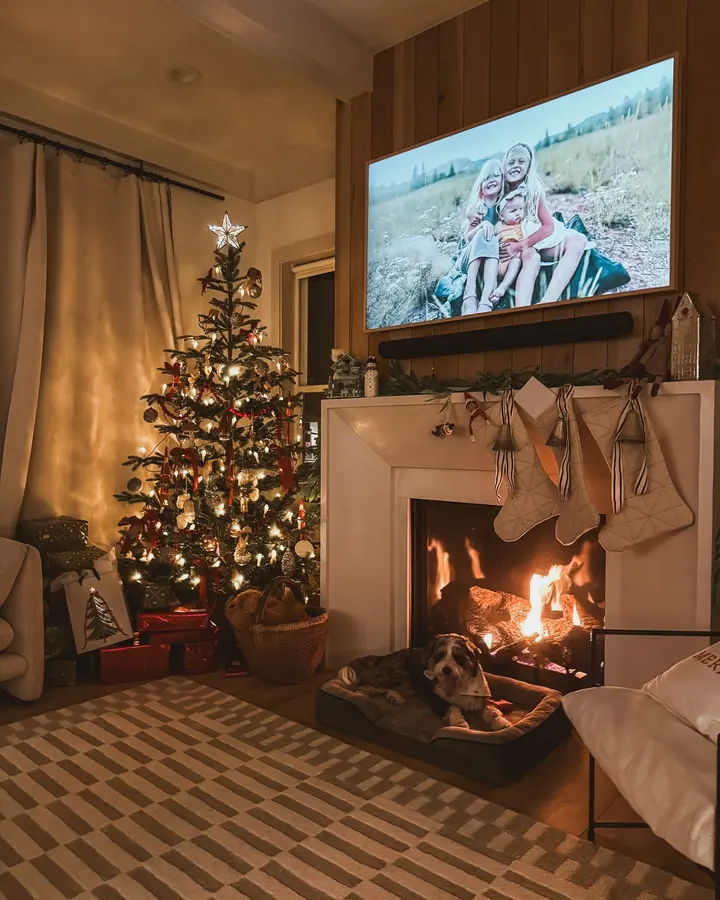
Turn on the lights, step to the far side of the room, and look. Move any ornament from a crowded spot to an empty one.
Take a photo on your phone — gaps show up clearly in pictures. Five minutes of fixing makes the whole tree shine.
Stepping back is the last step here, and the same careful eye runs through Christmas Tree Decor Ideas: Beautiful and Cozy Ways to Style Your Tree.
Final Thoughts
Lights first, ribbon second, big ornaments before small ones, topper last. Follow that simple order and your tree will look good every single time.
Do not chase perfection. A tree decorated with love always looks beautiful — and next year you will be even faster.


One Comment