
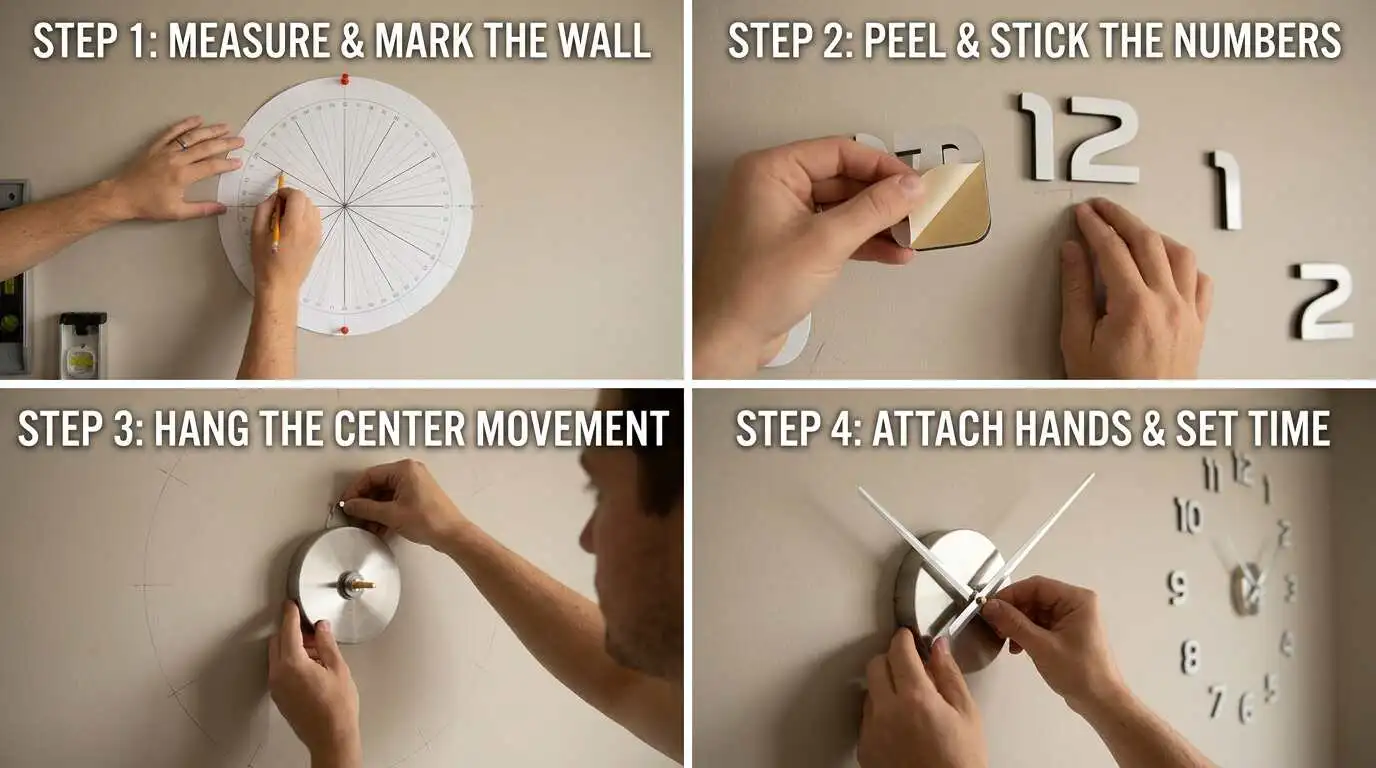
How to Install DIY Wall Clock: A Simple Step-by-Step Guide for Your Home

Introduction
Installing a wall clock is a simple DIY project that can add both style and function to your home. With a few basic tools and the right wall location, you can hang a clock safely and neatly.
Whether you have a small clock for the bedroom or a large statement clock for the living room, the basic process is easy to follow. These steps will help you choose the right spot, prepare the wall, and install your clock with confidence.
1. Choose the Right Wall
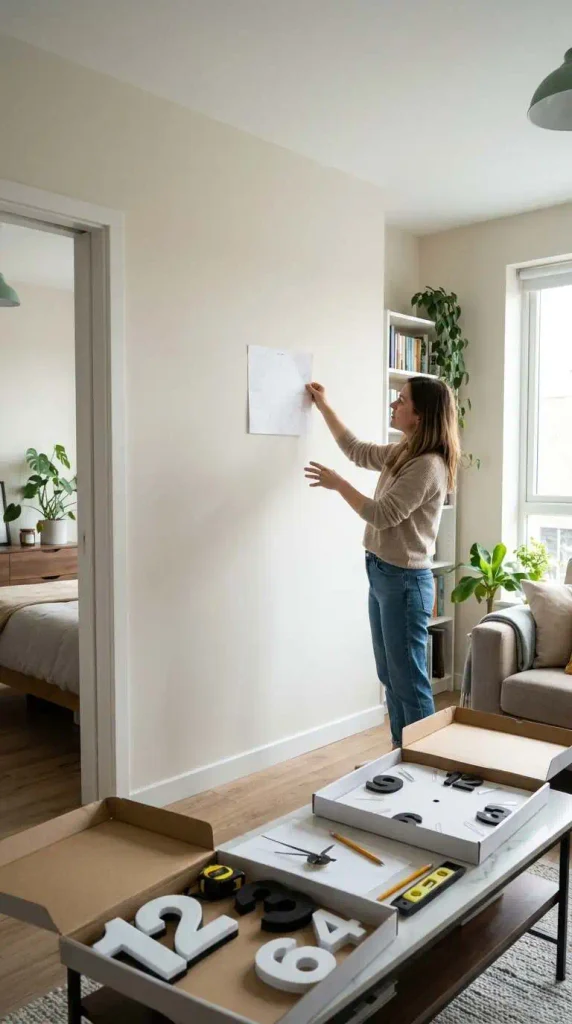
Start by choosing a wall where the clock can be seen easily. Living rooms, kitchens, entryways, bedrooms, and home offices are all good options.
Think about furniture placement and wall space before making any holes. For more wall styling ideas, explore [Bathroom Sink Ideas: Stylish and Practical Designs for Every Bathroom].
2. Select the Right Clock
Choose a clock that fits the size and style of your room. A large clock can work well on a wide empty wall, while a smaller design is better for a compact space.
Think about the clock’s weight and hanging method before installation. This will help you choose the right wall hardware.
3. Check the Clock Hardware
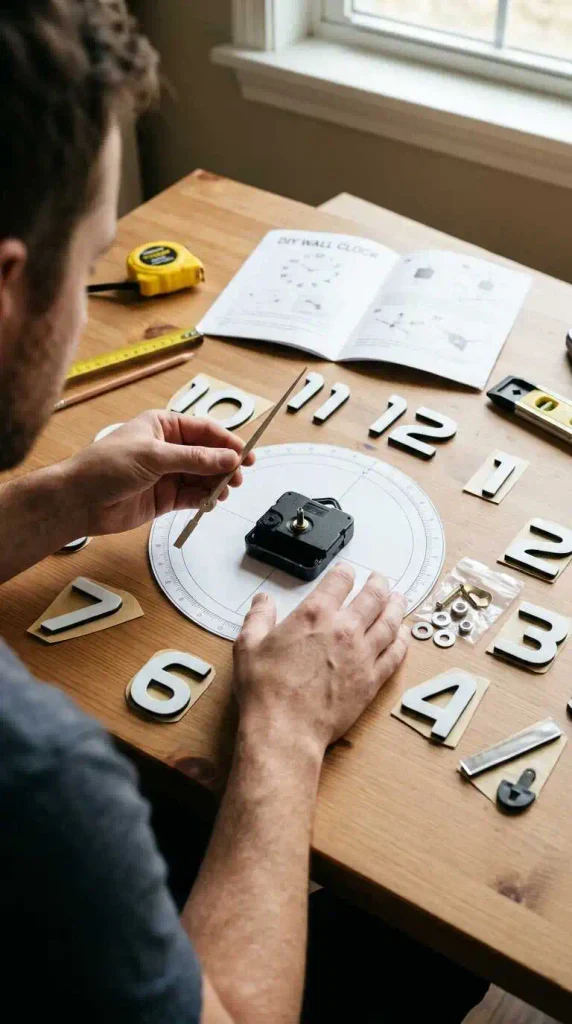
Look at the back of the clock to see how it is designed to hang. It may have a hook, keyhole slot, wire, bracket, or another hanging system.
Read the manufacturer’s instructions if they are available. Knowing the hanging method first makes the installation much easier.
4. Gather Your DIY Tools
Prepare the tools before you begin. You may need a pencil, measuring tape, level, drill, drill bit, wall anchor, screw, and screwdriver.
The exact tools depend on the clock weight and wall type. Having everything ready helps you complete the project without unnecessary stops.
5. Measure the Wall Space
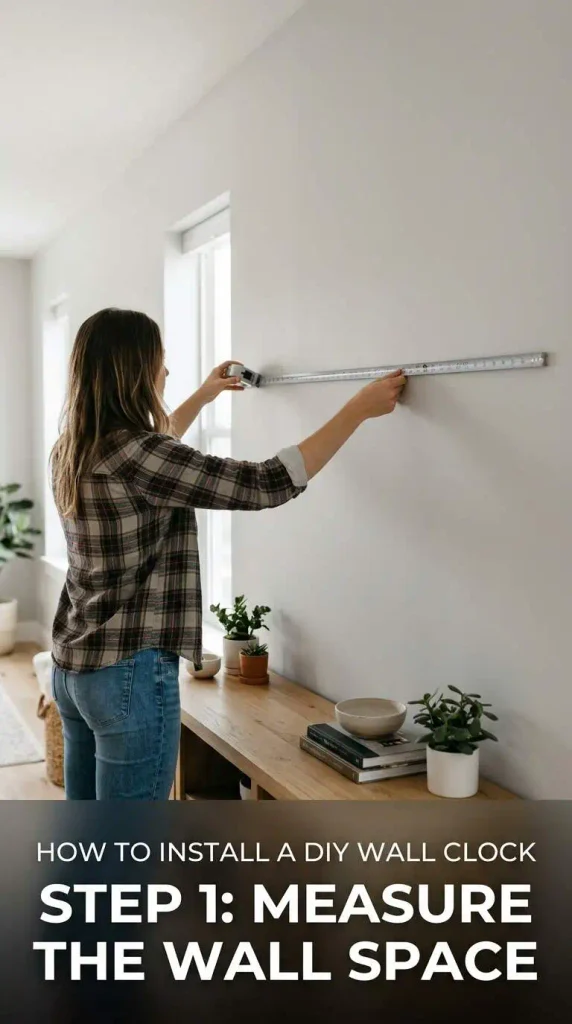
Use a measuring tape to find the best position for the clock. Check the available wall width and height before marking the installation point.
For a balanced appearance, consider how the clock relates to nearby furniture. A well-placed clock should look intentional rather than randomly positioned.
6. Find a Comfortable Height
A wall clock should usually be easy to see without looking too high or too low. Place the center of the clock around comfortable eye level when possible.
If the clock hangs above furniture, leave enough space between the furniture and clock. This creates a cleaner visual balance.
7. Mark the Hanging Point
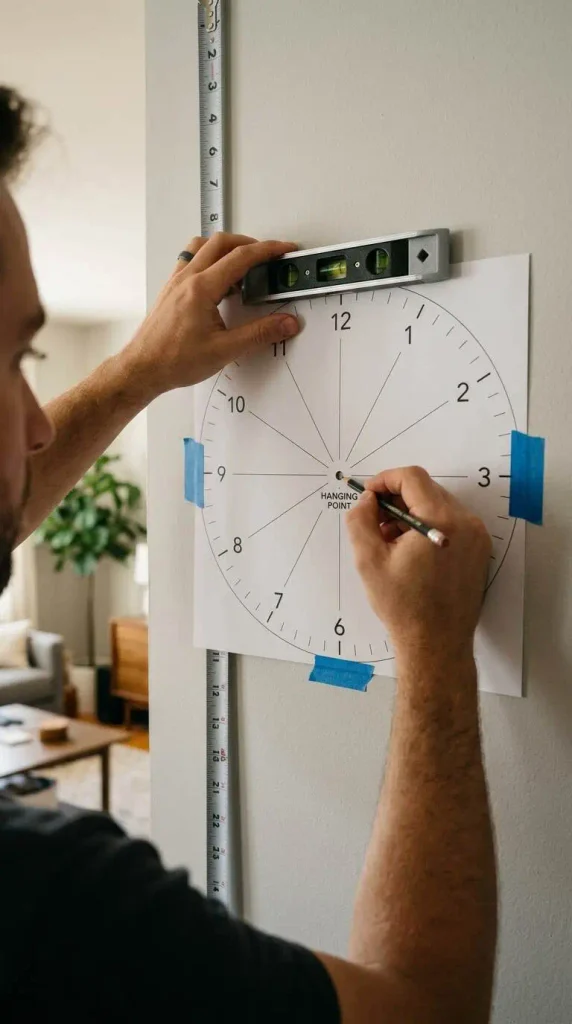
Once you choose the position, make a small pencil mark where the hardware will go. Measure carefully if the clock has more than one hanging point.
Use the clock’s actual hanging hardware position rather than simply measuring from its outer edge. This helps ensure the clock sits exactly where you want it.
8. Check the Wall Type
Before drilling, identify what type of wall you have. Drywall, plaster, brick, and concrete may all require different hardware.
Choose a fixing method that is suitable for both the wall and the clock’s weight. Never rely on a small nail for a heavy clock if stronger support is needed.
9. Use a Wall Anchor When Needed
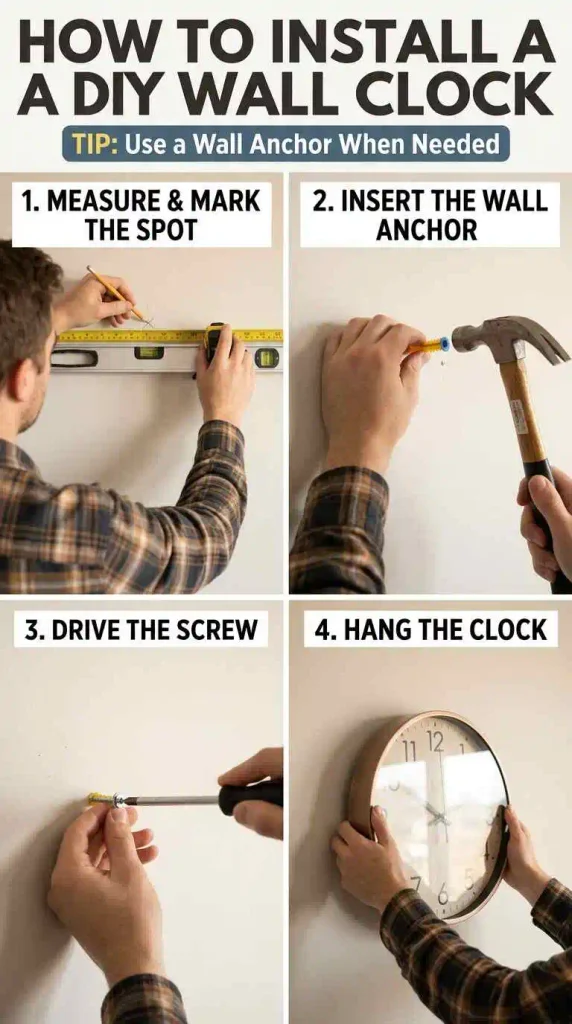
A wall anchor can provide extra support when installing a clock on drywall. Choose an anchor designed for the weight of your clock.
Follow the anchor manufacturer’s instructions for installation. For heavier clocks, use appropriate heavy-duty hardware and make sure the fixing is secure.
10. Drill the Pilot Hole
If drilling is required, use the correct drill bit for your wall type. Make a small pilot hole at the marked location.
Drill carefully and avoid forcing the tool. If you are unsure about pipes or electrical wiring behind the wall, stop and check before drilling.
11. Install the Screw or Hook
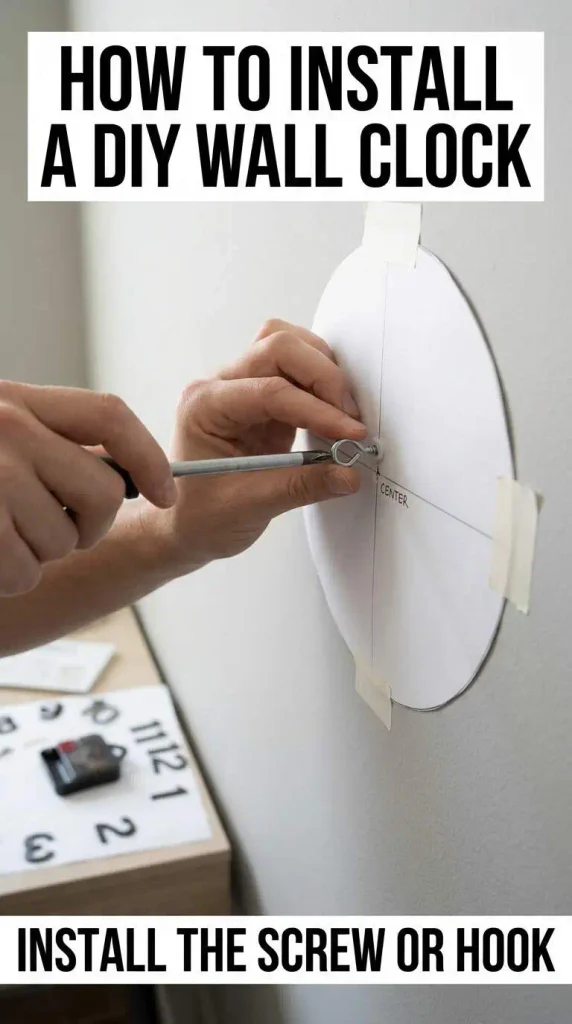
Place the appropriate screw, hook, or bracket into the prepared hole. Leave enough of the hardware exposed for the clock’s hanging mechanism.
Make sure it feels secure before placing the clock on it. A loose fixing can cause the clock to fall and damage the wall or clock.
12. Hang the Wall Clock
Carefully place the clock onto the installed hook or screw. Use both hands if the clock is large or heavy.
Check that the hanging point is fully connected. Do not let go until you are sure the clock is safely supported.
13. Check That the Clock Is Level
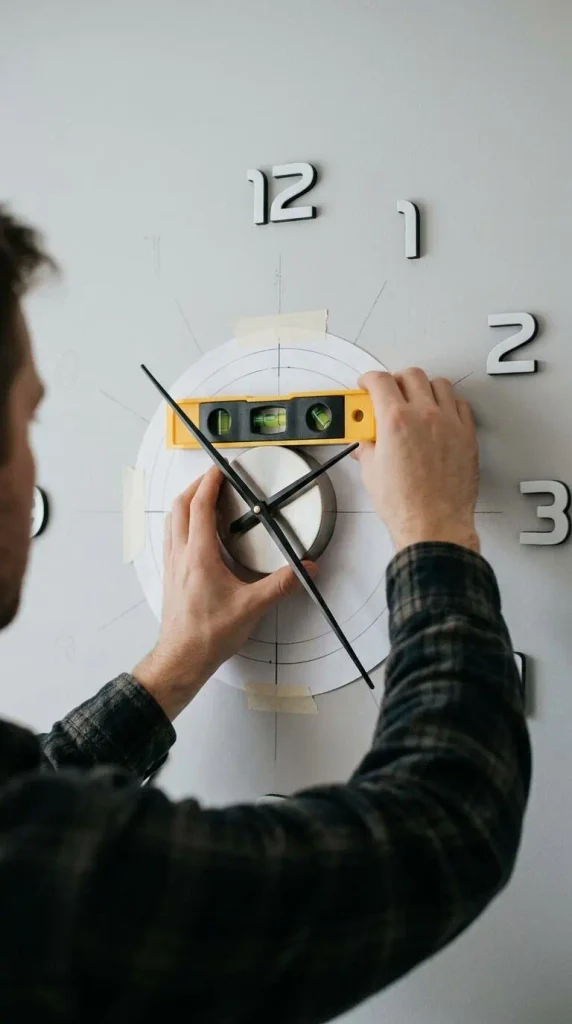
Step back and look at the clock from a short distance. If it looks tilted, gently adjust it until it sits straight.
A small level can help you get a more accurate result. This simple step can make a big difference to the finished look.
14. Style the Area Around the Clock
Once the clock is installed, look at the surrounding wall. Avoid adding too many decorations if the clock is already large or detailed.
You can pair it with simple artwork, shelves, or a few accessories. For more ideas, explore [Modern Electric Home Decor: Stylish Ideas for a Smart and Contemporary Home].
15. Install a Clock Above Furniture
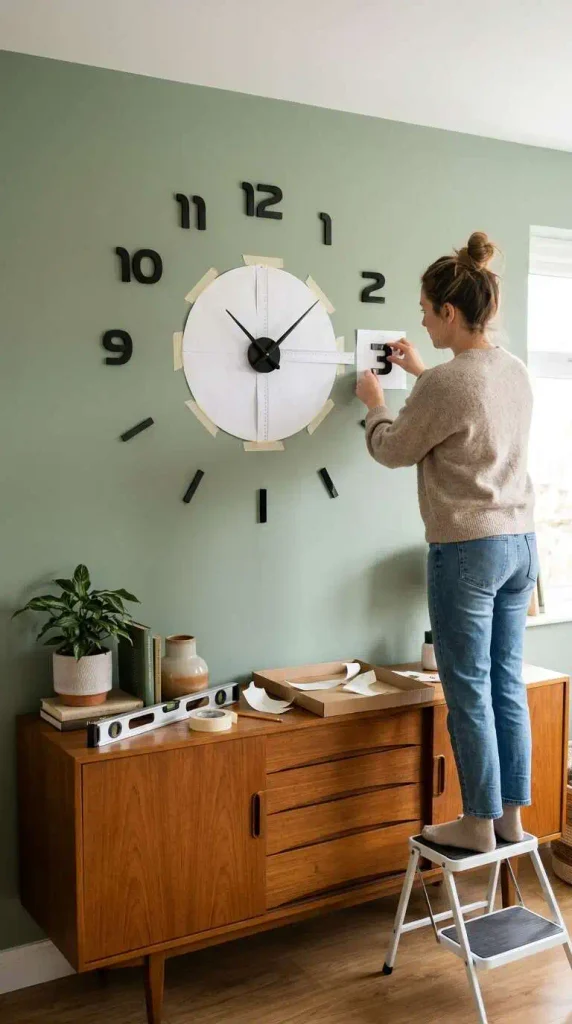
A wall clock can look great above a console table, sofa, desk, or sideboard. Leave enough empty space around it so the clock remains easy to notice.
Keep the items below it lower in visual weight. This creates a balanced wall arrangement instead of a crowded one.
16. Add a DIY Clock to a Gallery Wall
A clock can become part of a gallery wall with artwork and photographs. Choose a clock style that works with the frames around it.
Leave enough space between each piece so the arrangement remains clean. For more wall display inspiration, explore [10 Colorful Living Room Design Ideas: Bright and Stylish Ways to Decorate].
17. Choose a Clock for Your Room Style
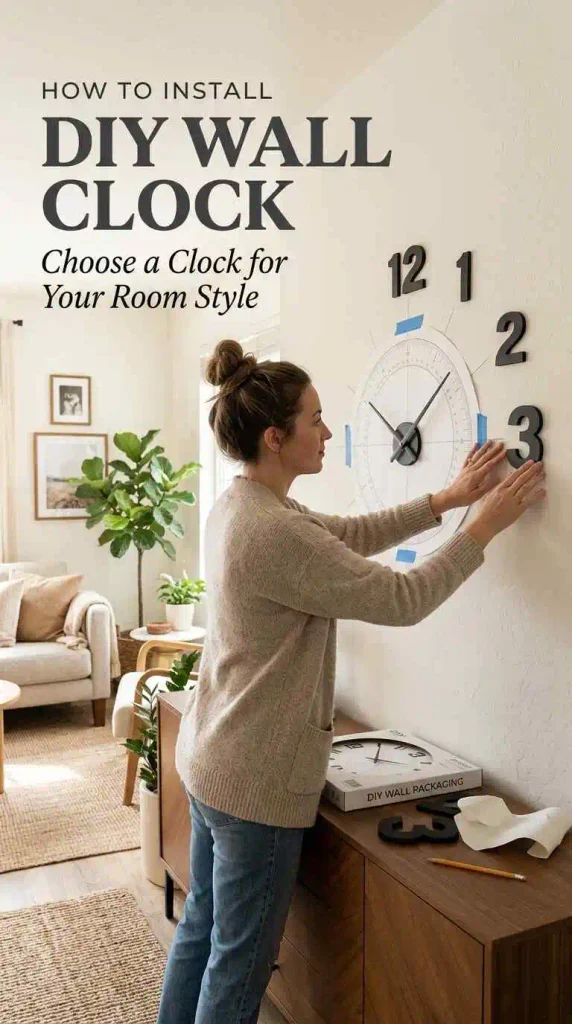
The clock should work with the overall room design. Wood clocks can add warmth, metal clocks can feel modern, and simple white designs can create a clean look.
Match the clock with nearby furniture and accessories rather than choosing it as a completely separate piece. For more furniture ideas, see [Window Sill Decor Ideas: Beautiful Ways to Style Your Windows].
18. Finish With a Final Safety Check
After installation, gently check that the clock is secure and the hardware has not moved. Make sure it is not leaning forward or pulling away from the wall.
Check it again after a short period, especially if the clock is heavy. A secure installation keeps your wall decor safe and looking good.
Simple Ways to Make Your DIY Wall Clock Look Better
A wall clock can be more than a way to check the time. Choose a design that adds personality to the room and give it enough empty wall space to stand out.
For a cozy look, combine the clock with warm lighting and natural textures. For a modern room, keep the surrounding decor simple and use clean shapes.
Final Thoughts
Learning how to install a DIY wall clock is a simple project that can quickly improve the look of a room. With the right location, suitable hardware, careful measurements, and a secure installation, you can create a useful and attractive wall feature.
Take your time when marking and drilling, especially if the clock is large or heavy. Once it is safely installed, you can complete the wall with [Black Bedroom Ideas: Create a Bold and Stylish Space] that match your home’s style.



One Comment